
Load Bearing: 20 Tons
Warranty: 12 Months
Body material: Heavy duty casting aluminum
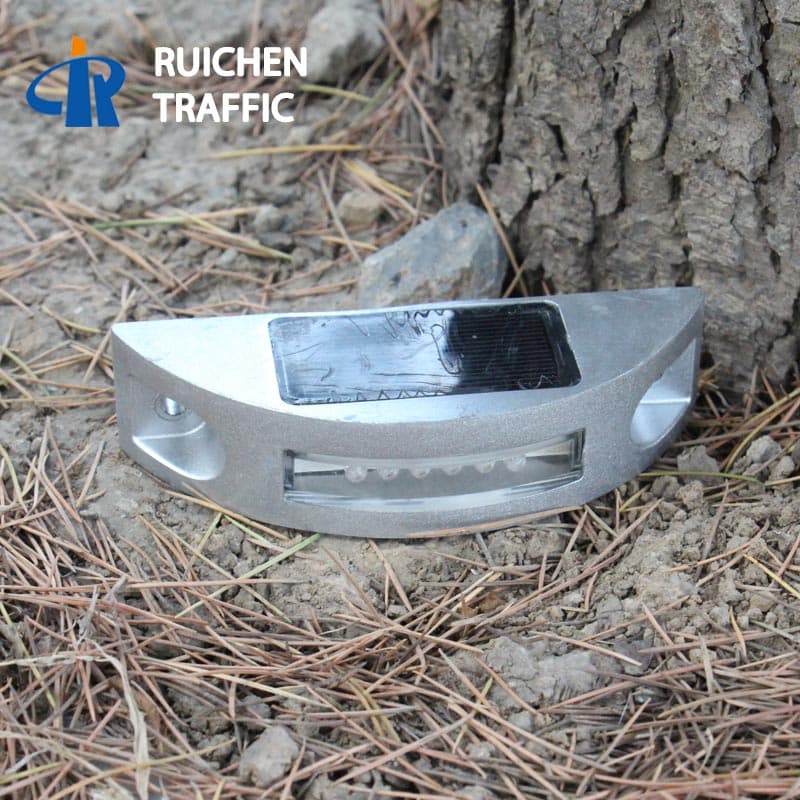
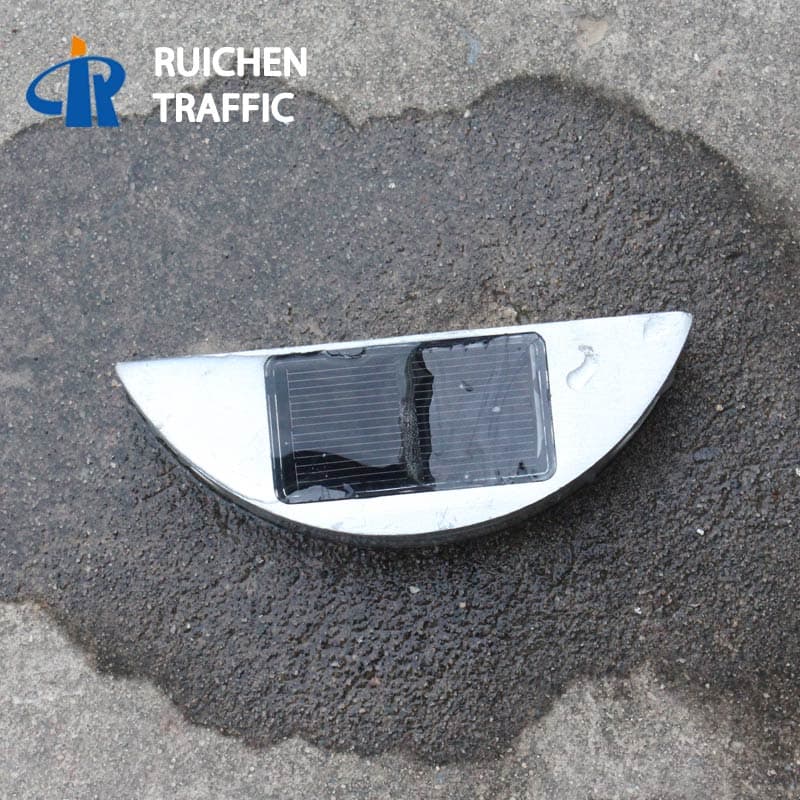
Power supply: Solar panel(monocrystalline 2.5V/0.2W)
Visual distance: > 800m
Working Mode: Flashing or Constant
Waterproof: IP68
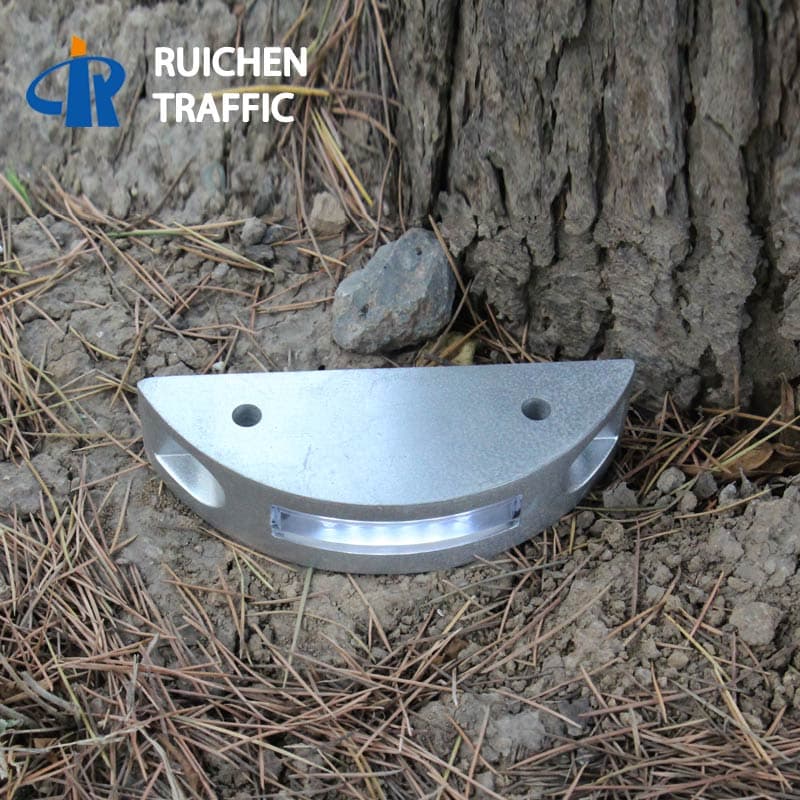
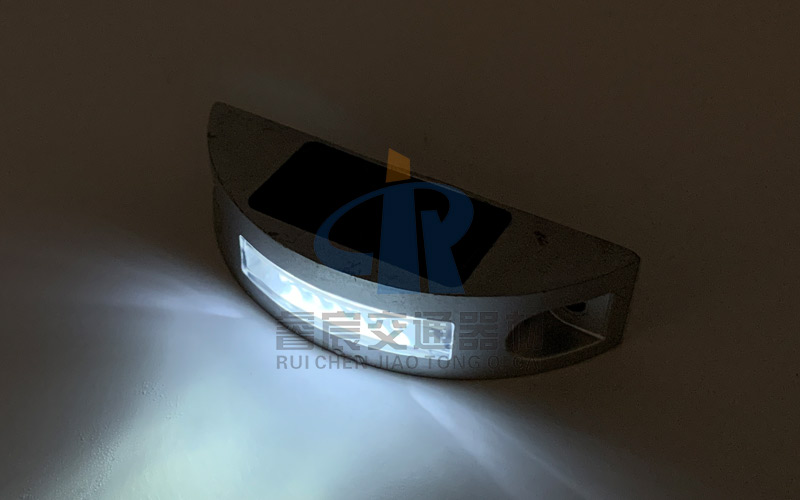
Solar Road Stud Features:
•High shock resistance, energy-saving, environment friendly.
•Automatically starts to work when night falls or with the onset of inclement weather.
•These aluminum alloy LED Road Studs are naturally charged by the sun.
•The LED lights of the Led Road Studs come on automatically as soon as it starts getting dark every night.
•effective, Road Studs are easy to install and require absolutely no wires or maintenance.
•Dramatically enhances the look of your garden/yard/driveway.
•Specifically designed with road safety in mind and can help to prevent serious accidents and emit rather than reflect light.
•Accept OEM/ODM
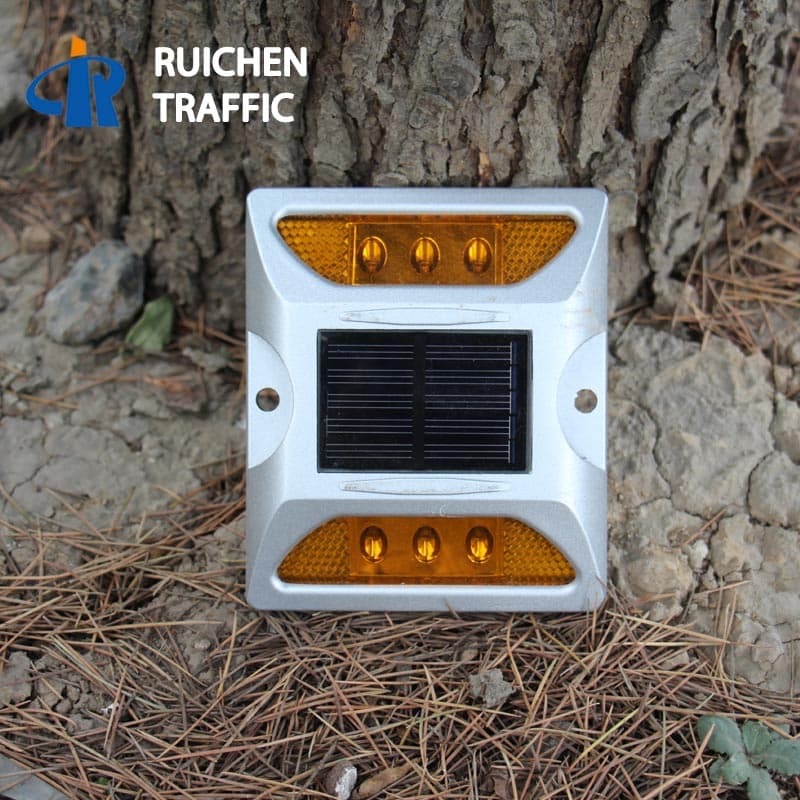
Road Studs Parameters:
| Material: | Heavy duty casting aluminium+PC |
| Power supply: | Solar panel(monocrystalline 2.5V/0.2W) |
| Battery: | NI-MH 1.2V/600MAHor lithium battery |
| Working model: | Blinking or Constant Charging at daytime and working automatically at night |
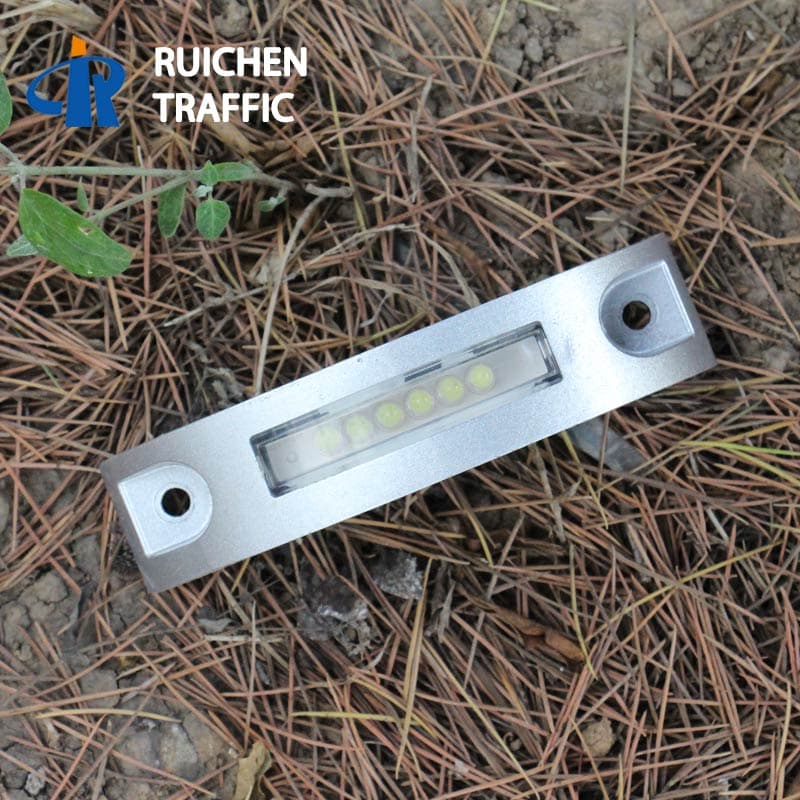
| LED: | Diameter 5mm; 6pcs in Total |
| LED colors: | Yellow, White, Red, Green, Blue |
| Life span: | 3 years |
| Resistance: | >20T(static) |
| Size: | L124*W43*H29mm (L4.88″*W1.69″*H1.14″) |
| Visual distance: | >800M |
| Water poof: | IP68 |
| Carton Size: | 2pcs/box;100pcs/ctn; Weight:26kg; Carton size:48*27*21.5cm (2pcs/box;100pcs/ctn; Weight:57.32bs; Carton size:18.90″*10.63″*8.46″) |

Application of Road Stud:
♥Schools and hospitals
♥Gardens
♥Deck and Dock
♥Walking paths
♥Bridge
♥Parks and campuses
♥Roundabout
Installation Method Of Road Stud M1:
1. Determine the installation location and distance, clean the road surface, and ensure that the Road Studs are installed on a flat road surface.
2. Clean the bottom of the Road Studs and apply the epoxy glue evenly to the back of the studs.
3. Press the side with the glue on the road, fix the position, wait for the glue to dry.
4. Check within 2 hours of installation to ensure that all Road Studs are not installed incorrectly and are not bent or deformed due to compression.
5. Remove the installation isolation facility within 6-8 hours after the installation of the Road Studs.

Load Bearing: More Than 30 Tons
Warranty: 18 Months
Body material: GB Cast Aluminium alloy
Power supply: USA Brand Flexible High Efficient Solar Panel (2.5V/0.38W)
Visual distance: > 800m
Working Mode: Flashing or Constant
Waterproof: IP68
Shank: With shank or Without shank
Load Bearing: >20T(static)
Warranty: 12 Months
Body material: GB Cast Aluminium alloy
Power supply: Solar panel(monocrystalline 2.5V/0.2W)
Visual distance: > 800m
Working Mode: Flashing or Constant
Waterproof: IP68
Shank: With shank or Without shank


